
How to Create a Purchase Order in Shopify: A Step-by-Step Guide
Learn how to create a purchase order in Shopify step by step, manage supplier orders, and restock inventory on time to prevent stockouts and overselling.

Creating a purchase order is not that easy as you prepare a list for shopping. It’s a step-by-step process, where firstly you check the stock, then you analyse your product quantity and their performances, after that you create a purchase requisition, then finally you create a purchase order. In Shopify, you do this from Products, Purchase orders, and Create purchase order, and you can save it as a draft or mark it as Ordered once your supplier confirms. This guide walks through the full process, the difference between a purchase requisition, a purchase order, and an invoice, and how a dedicated purchase order app removes the manual stock-checking that makes merchants miss reorder windows.
Key Takeaways
A purchase order (PO) is a buyer-issued document listing the products, quantities, costs, and terms you want to order from a supplier.
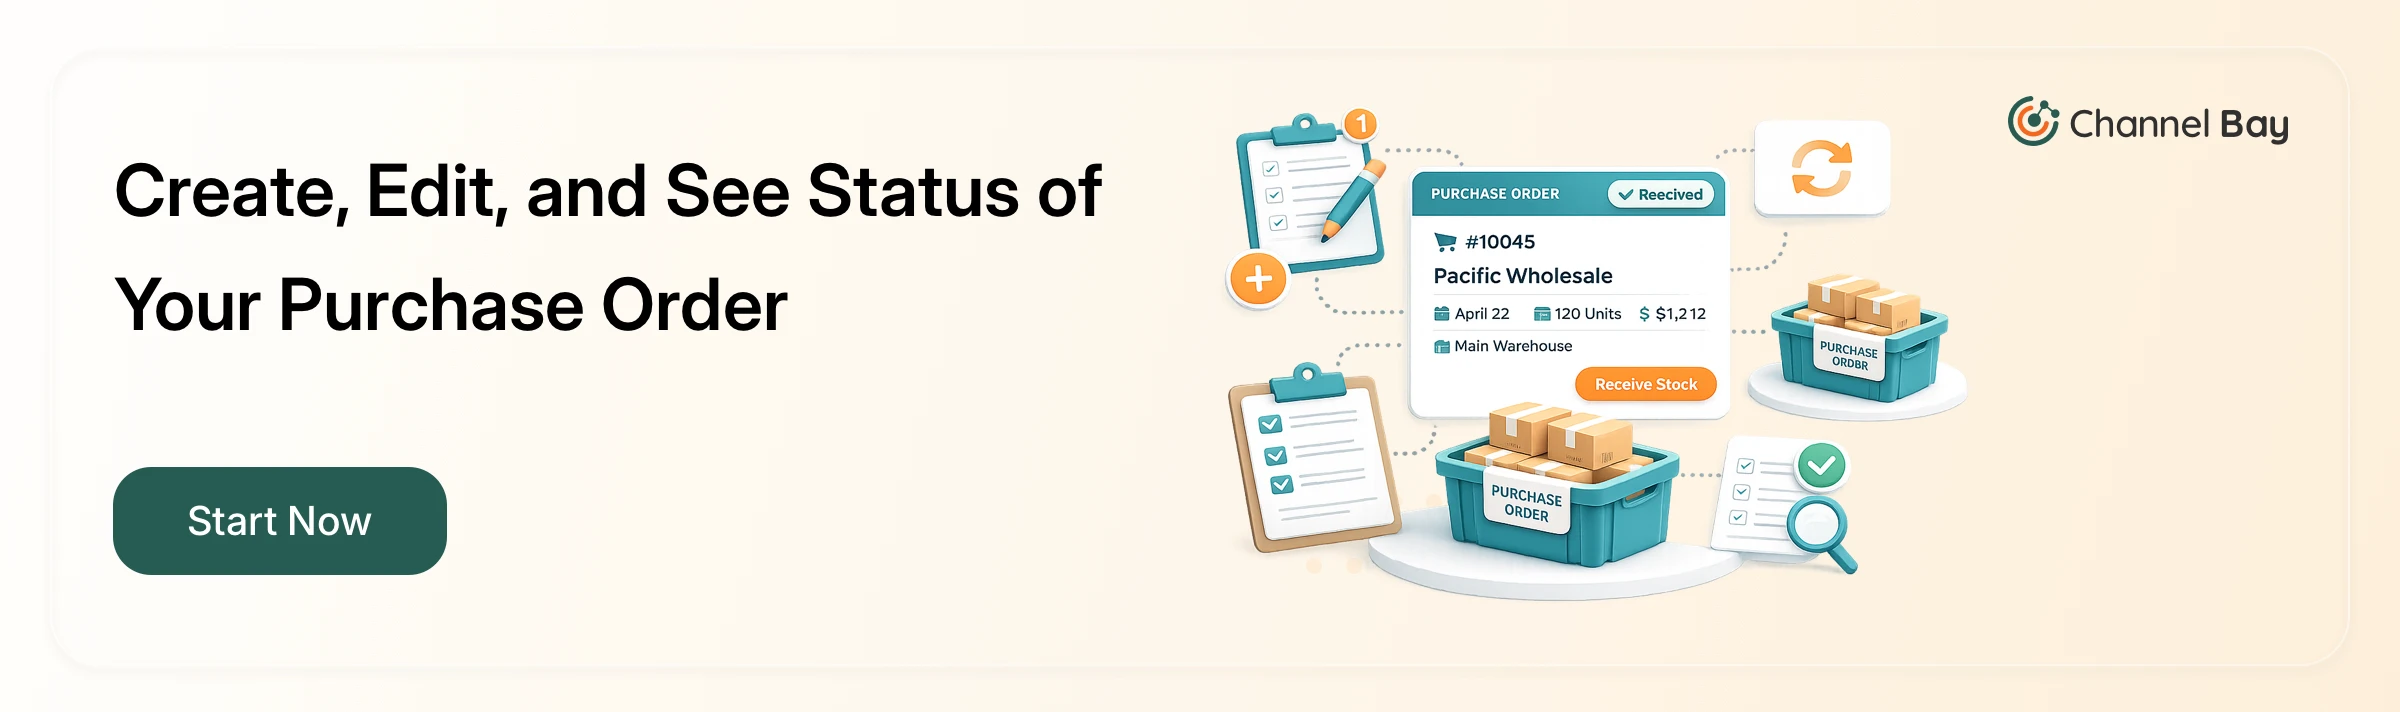
In Shopify, purchase orders have two statuses you set directly: Draft and Ordered. Receiving and completion are tracked separately on the linked inventory transfer.
You can edit a Shopify PO at any time, including after it's marked Ordered. You can delete it only while it's a draft; once Ordered, you close it instead.
Saving a PO doesn't send it. You export it as a PDF and email it to your supplier.
Shopify's native tools handle the PO document well but leave the reorder timing to you. A purchase order app closes that gap with automated low-stock monitoring.
What is a purchase order?
A purchase order is a legally binding document a buyer issues to a supplier listing the products they want to receive, along with quantities, variants, the delivery location, payment terms, and any notes for the supplier. It creates a clear commercial agreement: the buyer commits to buy, and the supplier commits to supply at the stated terms.
A PO usually sits between a purchase requisition and an invoice. Keeping the three straight matters, because each is created by a different person for a different reason:
Document | Who creates it | Purpose |
Purchase requisition | An employee (internal) | Requests management approval to buy stock before a PO is created |
Purchase order (PO) | The buyer | Lists the products and quantities to order or restock from a supplier |
Invoice | The supplier | Requests payment, detailing what was supplied and the amount due against the PO |
You create the PO inside a purchase order management system, Shopify's native tools or a third-party purchase order app, but the document is always issued by you, the buyer. The system is the tool; the commitment is yours.
When should you create a purchase order?
Create a purchase order whenever inventory needs replenishing: typically when stock falls below a set threshold, when demand rises, or when you're preparing for a promotion or seasonal peak. Creating the PO before stock runs low is the whole point. It gets products restocked on time, reduces the risk of stockouts, and leaves a clear record of what was ordered, from whom, and at what cost.
How to create a purchase order in Shopify
Here's how to create a purchase order in Shopify, step by step, from the admin dashboard.
1. Analyze your stock
Go to your inventory section and check product availability. Decide what to restock based on current levels, incoming demand, and supplier lead times.
2. Select or create a supplier
If the supplier already exists: Go to products then purchase orders, click create purchase order, select your supplier, and choose the receiving location.
If the supplier is new: Click create purchase order, then Select supplier then create new supplier. Add the supplier's company name and contact details, and save. Then continue as above.
3. Add your products
Search for products manually, scan barcodes, or import a CSV to add items in bulk. For each line, add the quantity and the cost per item. Shopify can auto-fill the supplier SKU and cost if you've ordered that product from the same supplier before.
4. Add reference details
Add a reference number (optional), a note for anything you want the supplier to know, and tags. Tags keep your purchase orders list organized and easy to filter.
5. Save as Draft or Mark as Ordered
Save the PO. Leave it as a Draft if you still expect to make changes, or mark it as Ordered once your supplier has confirmed. After a PO is marked Ordered, you can create a linked inventory transfer to track the goods moving into your store.
One point worth clearing up, because it's widely misstated: you can edit any detail of a Shopify purchase order at any time, including after it's marked Ordered. The supplier, destination, products, costs, and quantities can all still be changed. What changes is deletion. You can delete a PO only while it's a draft. Once it's Ordered, you don't delete it, you close it via More actions and close purchase order if you no longer want to process it.
Note: that marking a PO as Ordered itself can't be reversed.
6. Export and send it to your supplier
Saving a purchase order doesn't send it. Export the PO as a PDF, then email it to your supplier for review and approval. Only after they confirm do you mark it as Ordered.
What Shopify's native purchase order management does and doesn't cover
Shopify's purchase order tools are deliberately document-focused. They're built to record the commercial agreement: the supplier, the products, the costs, the terms. They do that well, and for merchants with a small catalog and a single location, the native workflow is often all you need.
What the native tools leave to you is the decision-making around the document. Before you create a PO, you still have to manually review inventory levels, estimate demand, and judge when each product should be reordered. As your catalog grows or your stock spreads across multiple locations and sales channels, that manual review takes more time and gets easier to let slip. Shopify doesn't send proactive low-stock alerts when a product hits your preferred reorder point, so the right replenishment window can pass unnoticed, which is how a lot of stockouts actually happen.
It's also worth understanding how the PO and the inventory transfer relate, because it's a common source of confusion. Once you create or link an inventory transfer from a PO, the two records operate independently. You can still edit either one, the PO stays editable, but a change to one doesn't automatically update the other. If you change a quantity on the PO after a transfer is linked, you'll need to update the transfer separately to keep them in sync. The PO captures the agreement; the transfer tracks the physical movement, much like an order and its fulfillment.
In short, native Shopify purchase order management:
Records and manages the PO document well.
Leaves inventory review and reorder timing as a manual task.
Doesn't send low-stock alerts, so stockout prevention is on you.
Keep the PO and its linked transfer as independent records you update separately.
This is where many growing merchants add a dedicated purchase order app, not to replace Shopify's document handling, but to automate the monitoring and reorder timing that the native tools intentionally don't cover.
Creating a purchase order in Channel Bay
In Channel Bay, the purchase order process starts with a low-stock alert rather than a manual check. Once you connect Shopify and your other sales channels across your stores and locations, the system monitors inventory continuously.
When stock falls below your defined threshold, say 10 units Channel Bay sends a low-stock alert, viewable from the dashboard notification icon or delivered by email, so you start the PO at the right moment. …
Once your channels, stores, and locations are synced, the flow is:
Create the PO- Go to Purchase orders, create purchase orders and select the supplier.
Add products- Add items one by one, scan barcodes, or import a list to build the PO in bulk.
Set terms- Choose payment terms (Net 15, Net 30, Net 45, or due on receipt), the expected delivery date, and the receiving warehouse. Add the invoice, invoice date, and payment date, plus any notes.
Review and save- Check the details and save.
Send- Export the invoice, email your supplier, and track the incoming delivery.
Purchase order statuses in Channel Bay.
Channel Bay tracks six purchase order statuses throughout the order lifecycle: Open, Partially Received, Fully Received, Closed, Cancelled, and Overdue. Statuses update as the order progresses, and you can manually mark a PO as Fully Received once all items have arrived. You can also set a low-stock threshold for each product, and Channel Bay automatically notifies you via the dashboard and email when inventory falls below that level, helping you reorder before stock runs out.
Frequently asked questions
How do you create a purchase order in Shopify?
Go to Products then Purchase orders and Create purchase order, select a supplier and receiving location, add products and quantities with their costs, then save as a draft or mark it as Ordered. Export the PO as a PDF and email it to your supplier to send it.
Can you edit a purchase order in Shopify after marking it as Ordered?
Yes. You can edit a Shopify PO's products, costs, quantities, supplier, and destination at any time, including after it's marked Ordered. If a transfer is already linked, update the transfer separately, since the two records don't sync automatically.
Can you delete a purchase order in Shopify?
You can delete a purchase order only while it's still a draft. After you mark it as Ordered, you close it instead via More actions then Close purchase order. You can still edit the order's details either way.
What is the difference between a purchase requisition and a purchase order?
A purchase requisition is an internal request an employee submits for approval before buying stock. A purchase order is the document the buyer then issues to the supplier, listing the products, quantities, and terms to order.
Do I need a purchase order app if Shopify already creates purchase orders?
Shopify creates the document, but you still have to notice when stock is low. A purchase order app monitors inventory across channels, stores, and locations and alerts you when to reorder, which is where stockouts are actually prevented. If you run a single location with a small catalog, Shopify's native tools may be enough on their own.
What does “marking a PO as Ordered” do?
It signals the order is confirmed with your supplier and counts the ordered quantities as incoming inventory. You can then create a linked inventory transfer to track the goods arriving into your store. Marking a PO as Ordered can't be reversed.
Bottom line
A purchase order is more than paperwork, it's a core part of effective inventory management. Creating purchase orders at the right time lets you replenish stock before it runs out, keep inventory levels healthy, and build stronger supplier relationships. Whether you use Shopify's native tools or add a dedicated purchase order app, a structured purchasing process reduces stockouts and improves inventory accuracy. The goal isn't just to order inventory, it's to get the right products to the right location, at the right time, in the right quantities.
