Inventory Adjustment: Reasons, Entries and the Report for Shopify Sellers
An inventory adjustment changes recorded stock to match reality. See which reason to pick, the journal entry, and where Shopify and Channel Bay log it.
On this page
Key Takeaways
- An inventory adjustment changes the recorded quantity so it matches the stock you hold, and records why. A useful one has a specific reason, a reference and a name against it.
- In Shopify, go to Products, then Inventory, click a quantity, switch Set to to Adjust by, choose an origin and destination and add a reason. Shopify's help says the bulk editor sets exact quantities and doesn't create an audit trail of inventory movements.
- In the books, a stock shortage found in a count is commonly a debit to cost of goods sold, or to a loss or shrinkage account, and a credit to inventory, at cost. Our example's net adjustment is $9.60. Your accountant decides the accounts.
- Pick the most specific reason that fits. Channel Bay's single adjustment list has eight reasons and its bulk list has a different eight. Shopify's help pages don't list the reasons in its menu.
- Review adjustments by reason, person and location each month. Channel Bay's Inventory Adjustment Report shows reason, user, reference, old and new quantity and cost value, and exports to CSV.
An inventory adjustment changes the quantity your system holds so it matches the stock you actually have, and records why. In Shopify you make one from Products, then Inventory, by clicking a quantity and using Adjust by. The change is only useful later if it carries a specific reason, a reference and a name.
Making the change is quick. The harder parts are choosing the right reason, recording the cost in your books and reviewing the changes so a pattern shows up. This guide covers all four for Shopify sellers, with the steps in Shopify and in Channel Bay. Every adjusted unit carries a cost, so it is also part of our inventory valuation guide. If you only have a minute, use the most specific reason you can for every change.
What Is an Inventory Adjustment?
An adjustment is a manual change to a recorded stock quantity. You make one when units left or arrived without a record: stock cracked in packing, a giveaway, a delivery nobody received on a purchase order, or a count that found a different number.
It helps to separate it from three neighbours:
- A stocktake counts the stock. The adjustment is what you post afterwards. See how to do stocktakes in Shopify.
- Reconciliation finds out why the count and the system differ. The adjustment is the last step, and sometimes the wrong one. If a delivery, transfer or return was keyed wrongly, fix that record instead, as the inventory reconciliation guide explains.
- A write-off removes the cost of stock that has no value left. AccountingTools defines a write-down as reducing the carrying value of inventory that is still partly recoverable, and a write-off as removing the balance entirely when nothing of value remains (AccountingTools, how to write down inventory, read 12 November 2026). A cracked mug you bin is an adjustment to the quantity and a write-off of its cost, and you can do both with one entry. The inventory write-off guide covers when to write stock off and how to record it.
How Do You Adjust Inventory in Shopify?
Shopify's help describes these steps (Shopify Help Center, adjusting inventory quantities, read 12 November 2026):
- From the Shopify admin, go to Products, then Inventory.
- In the Available or On hand column, click the quantity you want to change.
- Open the Set to menu and choose Adjust by.
- Enter the quantity.
- Choose the origin and the destination of the units.
- To record why, click Add reason and pick one.
- Review the pending changes and click Save.
The same steps work from a product's page or a variant's page. Shopify's page explains the origin and destination to pick when you move units between Available and Unavailable, so read it before you do. Set to takes a target quantity and Adjust by takes a change, and the help doesn't explain the two modes beyond the menu.
Shopify's developer documentation shows why the column matters. On hand is the sum of the available, committed, reserved, damaged, safety stock and quality control states, and the reserved, damaged, safety stock and quality control units show as Unavailable in the admin (Shopify developer docs, quantities and states, read 12 November 2026). So moving units to Unavailable keeps them in On hand. Shopify's pages don't say which origin and destination takes a binned item off On hand, so test it on a spare variant and read the result in the history before you rely on it.
What the Bulk Editor Leaves Out
Shopify also lets you set quantities in a grid. The help is blunt about the trade: "When you use the bulk editor, you set absolute inventory quantities without specifying origin and destination, so this method doesn't create an audit trail of inventory movements" (Shopify Help Center, adjusting inventory quantities in bulk, read 12 November 2026). The page says to use the standard method when you need the origin and destination.
The same page says an override replaces the current quantity with the exact number you enter, and that bulk edits and inventory CSV imports update quantities only and don't activate a product at a location. It doesn't say what the adjustment history page shows for a bulk edit, so make one test change and look.
Where to See the History
Open the product, pick the variant if it has one, make sure Inventory tracked is on in the Inventory section and click View adjustment history (Shopify Help Center, adjustment history, read 12 November 2026). Shopify says every adjustment is recorded so you can review who changed a quantity, when and why (Shopify Help Center, managing inventory quantities, read 12 November 2026).
Shopify's blog adds that it keeps these records for up to 180 days (Shopify blog, stock count discrepancy, 22 December 2025). The help pages we read don't state a limit, so check your own admin. If you need a longer trail for an audit, keep your own copy.
Which Reason Should You Choose?
Shopify introduced adjustment reasons in January 2022 so you could tag changes such as damaged or returned and see them in the inventory history (Shopify changelog, adjustment reasons, 26 January 2022). The help pages we read only say to click Add reason and don't list the choices. Shopify's developer docs list reason values for its API, but they don't say the admin menu matches that list, so look at the menu in your own store.
Channel Bay's reasons are easier to lay out because the app has fixed lists, and the bulk update uses a different one from the single adjustment. The table matches common situations to each, as of November 2026:
| Situation | Single adjustment | Bulk update |
|---|---|---|
| A count found a different number | Count | Stock correction / recount |
| A typing slip or wrong variant | Correction | Stock correction / recount |
| Cracked, spoiled or broken | Damaged | Damaged |
| Missing | Theft / Loss | Lost or stolen |
| Sample, giveaway or donation | Promotion / Donation | Promotion, sample or giveaway |
| Delivery with no purchase order | Received | Received (not on a purchase order) |
| A customer return back on the shelf | Return Restock | Returned to stock |
| Held back for inspection | not in the list | Quality control hold |
The single list also has PO Restock, and the bulk list also has Other, which takes your own text of up to 100 characters. Neither is matched to a situation above.
Two habits make the trail worth having. Pick Correction only when nothing more specific fits, since an auditor can't tell what a Correction was for (the inventory audit guide covers why). And if stock arrived on a purchase order, receive it on the purchase order instead of adjusting, so the order closes and the cost is recorded.
How Do You Record an Adjustment in the Books?
The stock quantity is half the job. If you keep accounts, the cost of the change goes there too. One common treatment for a shortage found in a count, under a perpetual system, is to reduce inventory and increase cost of goods sold by the same amount. A textbook example has $45,000 of inventory on the books against a $43,000 count, so the entry is a debit of $2,000 to cost of goods sold and a credit of $2,000 to merchandise inventory (Business LibreTexts, adjusting entries for a merchandising company, read 12 November 2026). The same page says that when the count is higher than the books, you debit inventory and credit cost of goods sold.
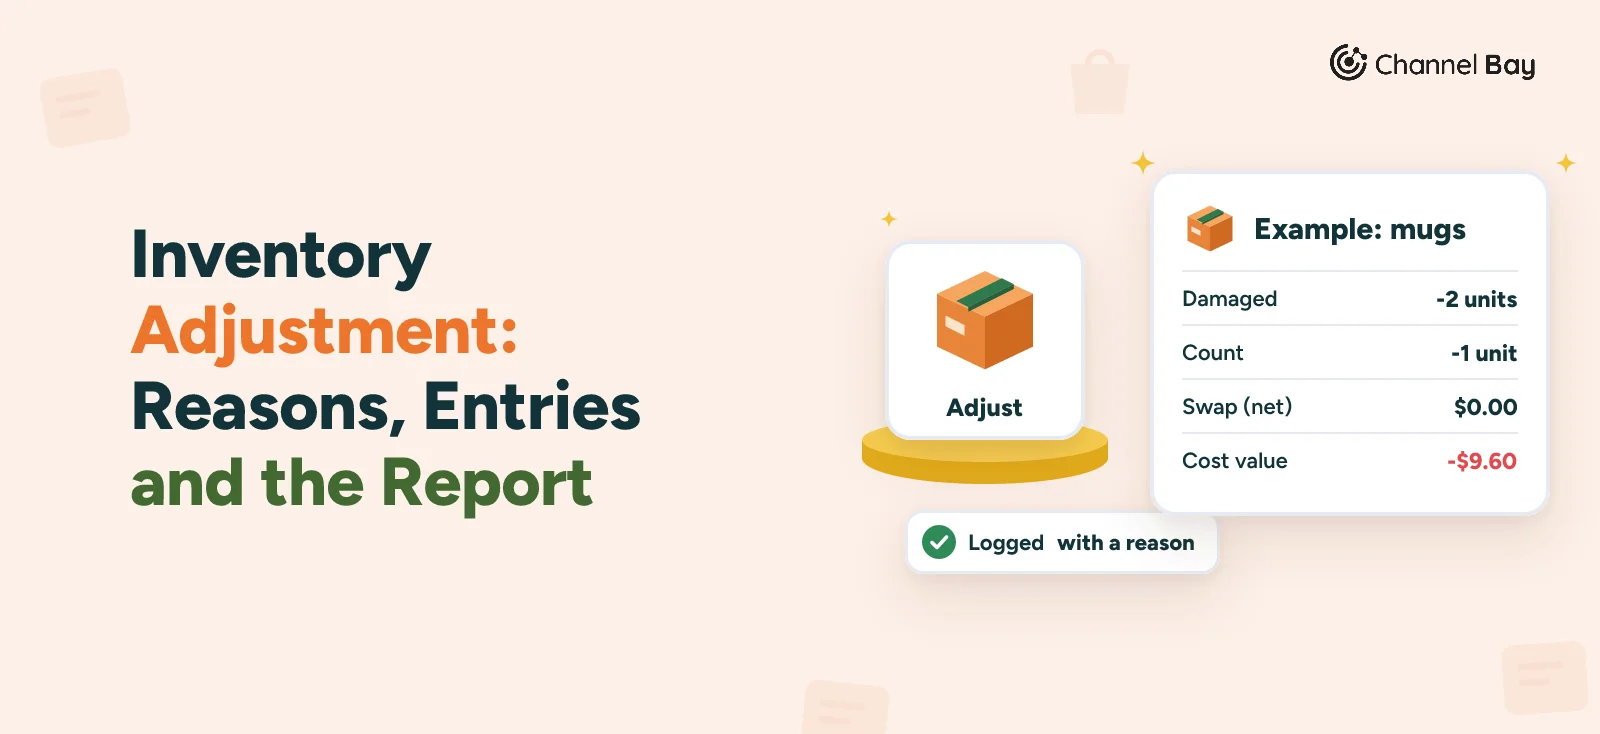
We apply it to the sage mug from our reconciliation guide, which costs $3.20, like the cream mug. After the hunt for causes, four lines need adjusting. The figures are invented.
| Date | Variant | Reason | Quantity change | Cost value | Note |
|---|---|---|---|---|---|
| 12 Nov | Sage mug | Damaged | -2 | -$6.40 | Cracked in packing, packer's note |
| 12 Nov | Sage mug | Count | -1 | -$3.20 | Unexplained, recounted by two people |
| 12 Nov | Sage mug | Correction | -3 | -$9.60 | Sage picked on three cream orders |
| 12 Nov | Cream mug | Correction | +3 | +$9.60 | Other half of the swap |
| Net | -$9.60 |
The swap nets to nothing, so only the broken mugs and the unexplained unit reach the books. The entry for the net $9.60 is:
| Account | Debit | Credit |
|---|---|---|
| Cost of goods sold | $9.60 | |
| Inventory | $9.60 |
Three limits apply to that entry:
- It assumes perpetual records. For a write-down, AccountingTools describes a periodic system as crediting the inventory asset and debiting a loss account, and says a perpetual system's software creates the entry (AccountingTools, how to report an inventory write down, read 12 November 2026).
- The debit account is a choice. The textbook example uses cost of goods sold. AccountingTools says a large write-down can go into a separately itemized account instead, so your accountant may prefer a loss or shrinkage account.
- It isn't tax advice. How a loss is treated for tax is outside this guide, so ask your accountant.
Channel Bay has no entry posting or accounting export. It records the quantity, the cost value and the reason, which gives the person keeping the books the inputs.
What Should You Review in the Adjustment Report?
A single adjustment is rarely the problem. A pattern is. A monthly review of the list shows where stock keeps leaking:
- Group by reason. A rising share of Damaged points at packing or the supplier. A pile of Corrections points at slips in data entry.
- Look at who and where. One person or one location behind most of the Theft / Loss lines is worth a conversation.
- Check for a reference. An adjustment with no order, purchase order, return or stocktake behind it is the first to query.
- Spot the big ones. A single large change that no note explains is the one an auditor asks about.
The inventory audit guide shows how to test a sample of adjustments against their documents, and the inventory shrinkage guide turns the same lines into a shrinkage rate.
In Shopify, the per-product history is described above. For the whole store, our inventory tracking guide describes the Inventory adjustment changes report under Analytics, then Reports, in the Inventory category, which you can narrow by SKU, location, staff member, app or reason. Shopify's developer documentation also lists an inventory_adjustment_history dataset for ShopifyQL, with the change reason, the staff member and the reference document type among its fields (Shopify developer docs, inventory_adjustment_history, read 12 November 2026). We haven't checked which plans can query it.
How Do You Adjust Inventory in Channel Bay?
Channel Bay is our app, so we're not neutral here. What follows is how it works as of November 2026.
Single Adjustment
Open Inventory, open the variant, and on the Overview tab click the quantity for the location. In Adjust By, enter a positive or negative whole number. Decimals and zero are not accepted. The modal shows the resulting Available Inventory, so check it before you pick a Reason and save. A common mistake is typing the new total into Adjust By instead of the change.
Bulk Update
Select variants in Inventory, choose Bulk Action, then Update Inventory. Pick one location and one reason for the whole update, then type an Adjusted Qty or a New Qty, and the other recalculates. You can also import a CSV with sku, barcode and available_quantity, where the last column is the new total and not a change. The file can be up to 5 MB, and you can select up to 500 variants. The bulk update needs a reason and a non-zero change before the button works.
History
Each variant has a History tab with timestamp, quantity change, quantity at the location, event type, location, reason, user and reference. Receipts and supplier returns show the purchase order number, and changes made in Shopify show up as an adjustment with the reason "Shopify Inventory update".
Report
Reports has an Inventory Adjustment Report. It covers the last 7 days until you set a range, and filters by location. Export CSV runs in the background. Reports is included in the Basic plan and above. Check the pricing page for the plan that includes the bulk update.
- Fields. Date, product, variant, SKU, location, reason, user, reference, old quantity, new quantity, quantity change, cost value and retail value, with adjustment ID and barcode available in Columns.
- User. A staff name, "Admin" when Channel Bay support made the change, or "System" when no person was involved, such as a sync.
- Reference. A link to the order, purchase order, return, transfer or stocktake behind the change.
Limits to Know
These limits apply:
- Two reason lists. The single adjustment and the bulk update offer different reasons, as the table above shows.
- Stocktakes use one reason. Our reconciliation guide notes that a submitted stocktake posts the gap on every line under one generic reason, with no choice of Damaged or Theft / Loss.
- No approval step. If you want a second person to sign off, record that outside the app.
- Check the cost value. It is the unit cost times the units changed, so check a row against your own figures. Our Cost Tracking page explains how Channel Bay values stock.
Where to Start
Open the adjustment history on the product you adjust most and read the last five changes. If any has no reason or a vague one, start giving every change a specific reason and a note. Then test one bulk edit to see what your history shows for it.
Once a month, group the changes by reason and compare the total with what your accountant booked. A gap is a missing entry or a change nobody explained. For the full counting routine, see our stocktake guide.
Frequently Asked Questions
How do I make an inventory adjustment in Shopify?
What is the formula for an inventory adjustment?
What is the journal entry for an inventory adjustment?
Is an inventory adjustment the same as a write-off?
Does the Shopify bulk editor keep an audit trail?

Guides from the team that builds and supports Channel Bay, the Shopify inventory app for purchase orders, stocktakes, stock transfers and multichannel stock sync. About Channel Bay